
No products in the cart.
Bring Premium Value to Your Brand with a Trusted Custom Packaging Manufacturer
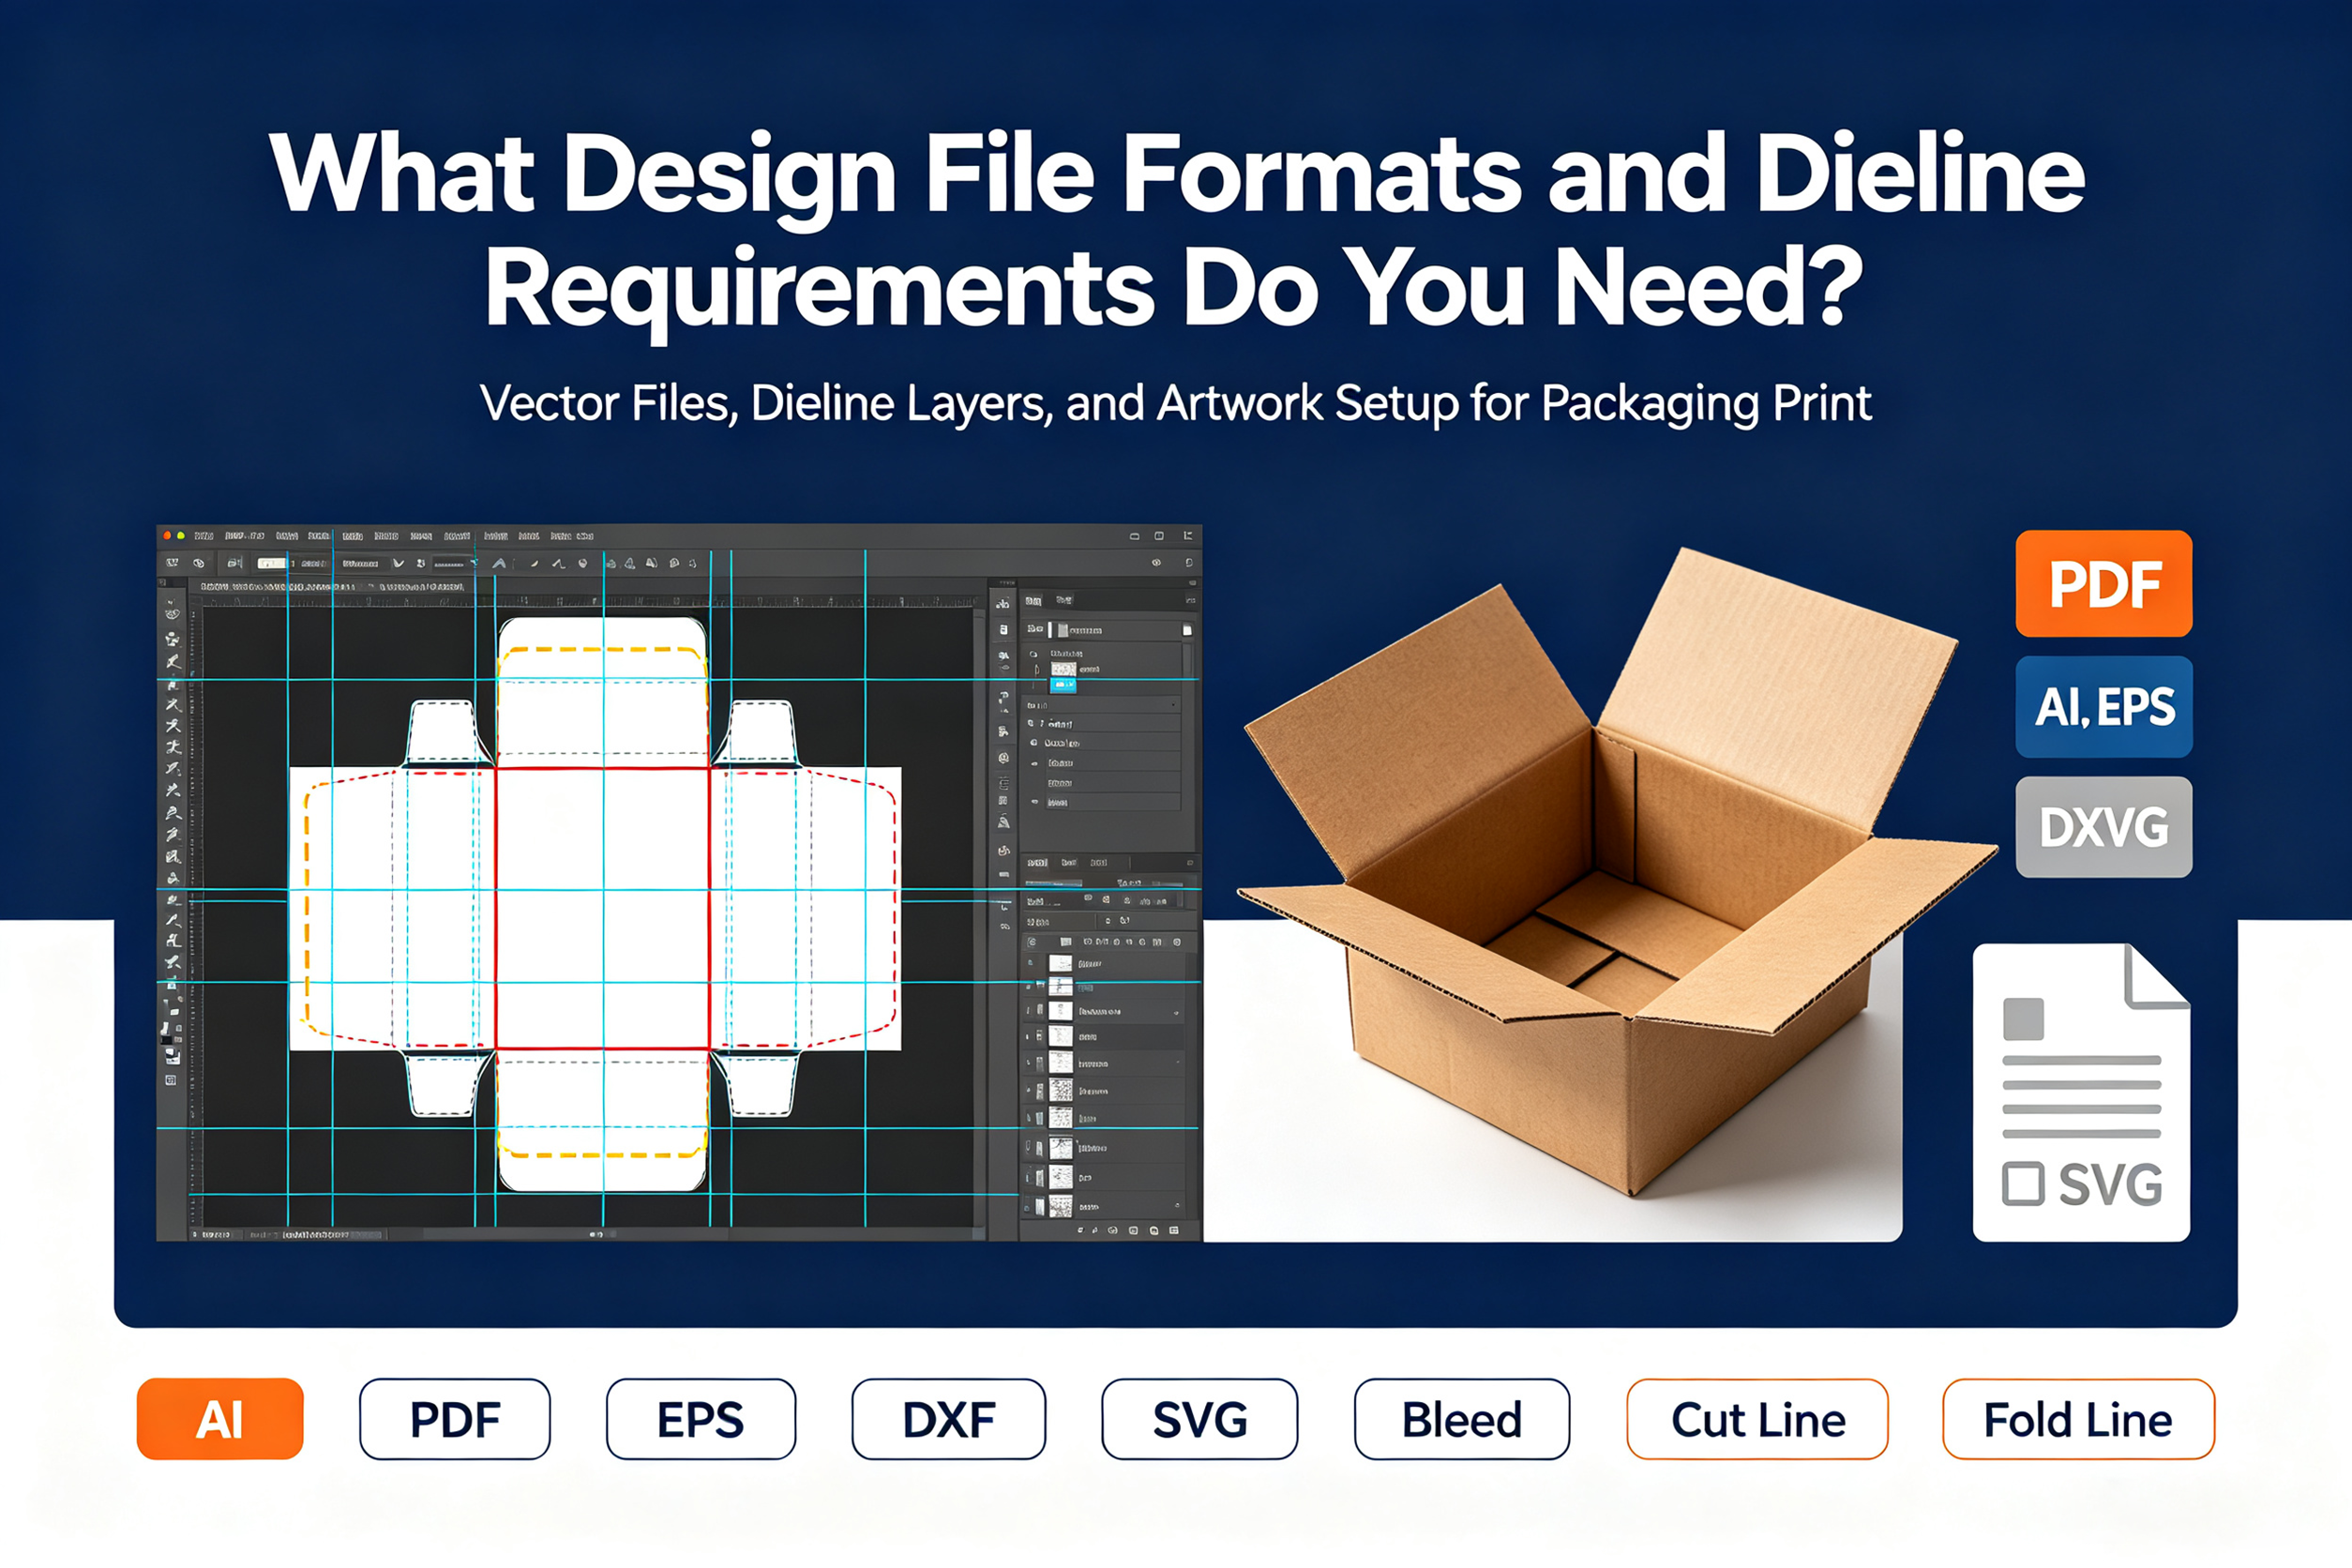
Submitting correctly prepared prepress artwork files ensures a seamless transition from graphic design to physical press production. Incorrect bleed margins, missing embedded images, or un-outlined typography can cause artwork shifting or color prepress errors.
At Gerun Packaging, our prepress engineering department provides custom vector dielines to streamline your artwork placement.
A structural dieline contains three distinct line types that dictate how the paperboard sheet is cut, creased, and folded:
Before submitting artwork files for prepress review, verify these five requirements:
Ctrl+Shift+O / Cmd+Shift+O) to prevent font substitution.Q1: Why do you require vector artwork instead of high-resolution JPEG or PNG files?
Vector files use mathematical paths rather than fixed pixels, allowing infinite scaling without quality loss. Vector artwork is required to output crisp typography, sharp die-cut alignment, and precise printing plates.
Q2: What is the minimum safe clearance distance between text logos and box fold lines?
Keep essential text, logos, and critical graphic elements at least 3mm to 4mm away from fold and cut lines to account for mechanical paper movement during high-speed die-cutting.
Q3: How do I supply artwork for specialty finishes like Foil Stamping or Spot UV?
Include specialty finishes on separate dedicated layers stacked above your CMYK artwork layer. Represent foil or spot UV areas as 100% solid vector shapes filled with a distinct spot color (e.g., 100% Magenta named “Gold Foil”).
Q4: Can I design packaging using Canva or Photoshop?
Canva and Photoshop output raster-based files. While high-resolution Photoshop files can be used for background imagery, final layout assembly, typography, and dieline placement must be finalized in vector programs like Adobe Illustrator.
Q5: Do you review artwork files before beginning mass production?
Yes. Our prepress engineering team inspects every submitted vector file for resolution, bleed, color mode, and dieline alignment, providing a digital PDF Prepress Proof for your formal review and approval before plates are produced.
Tel:+86 13723475723
Add:building 10, zone 14th, taoyuanju, xixiang street, Bao'an district, Shenzhen, 518126, China
Connect us by scan whatsApp

CUSTOM PACKAGING SUPPLIER FOR COSMETIC, GIFT, FOOD AND SHIPPING | 2026 COPYRIGHT BY GERUN PACKAGING